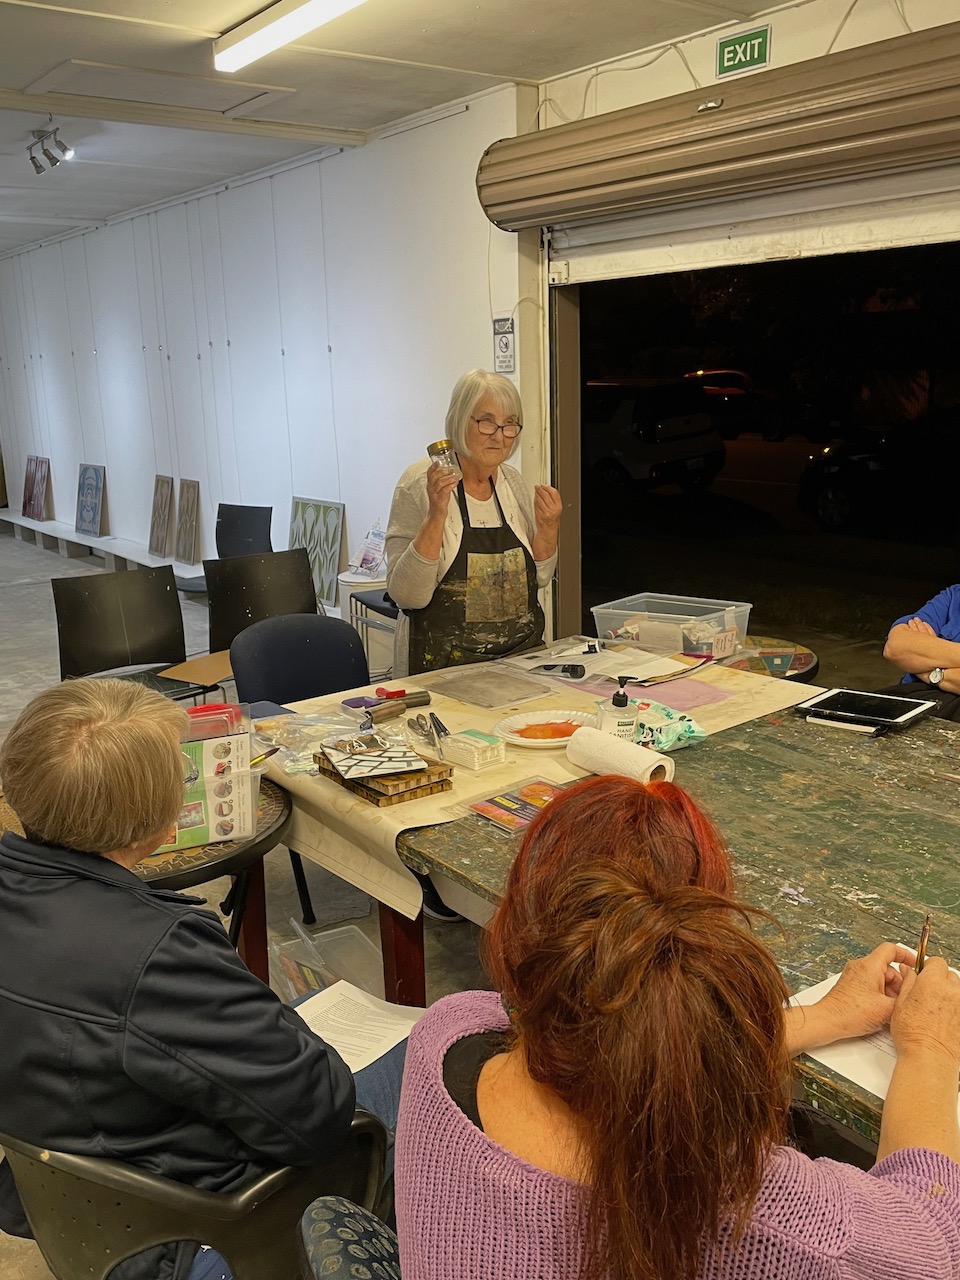
How to Gelli Print, by Grace Cross, Naracoopa Gallery & Art Studio
- A gelli plate is a soft silicone plate that allows you to make mono prints. (One off prints of a design of your choice, whether drawn in, stencilled in, placed by laser prints, etc). It makes printing so much easier, compact and affordable without having to have a printing press to create your print.
- Gel printing plate is a soft surface that comes in a variety of sizes that is made with a mineral based glycerin which give the plate a flexible and moldable surface so that you can spread paints, add textures, and make many prints. You can make your own plates, especially if you want a custom size, but it is an expensive exercise, time consuming and they only last a few weeks. Manufactured gelli Plates come in various sizes and our own ARTHOUSE NORTHSIDE ART SUPPLY SHOP has them in stock or can order them in.
Tools/Supplies to Use and have on hand in Gelli Printing:
- Gelli Plate-sizes are in inches rather than metric, 8 ½ “x 11” is close to A4 and they go up and down in size from there. You can also get circular shapes.
- Brayers-I use a hard brayer and a soft brayer, depending on what effect I am looking for. It is best to have 2 at least.
- Acrylic paints-I love metallics but any paint will do. Dependent on the pigment content, will affect the drying of the paint and hence the outcome of the print. Experimentation is your best friend.
- Paint medium– to extend the drying time of the paint for different effects.
- Lots of copy paper for over prints, ghost prints etc.
- Papers that do not have a texture work best, ie hot press w/c papers, Rives printing papers, specialty papers such as mulberry, tissue papers, newspapers, old dress patterns, vintage music sheets, the list is endless. Again, experimentation is the key.
- Fabrics-cotton fabrics white and solid colour, silk organza, light weight fabrics, canvas, calico, etc
- Palette knives-helps in applying specialty paints.
- Texture & Pattern Making Tools-use any tool that can create a texture into the paint once paint is rolled onto the plate, from glad wrap and paper towels, to combs, ribbon, lace, leaves, twine, cords, buttons, bubble wrap, etc. Limited only by your imagination.
- Freehand Drawing- tools you can draw into the paint with, qtips, wooden skewers, tips of brushes, etc.
- Stencils- make your own stencils or buy them to create more detailed designs.
- Other – watercolour, markers, inks, sprays, all can be used to stain the plate and add additional colour to the print.
What to do with all your Gel Prints: suggestions
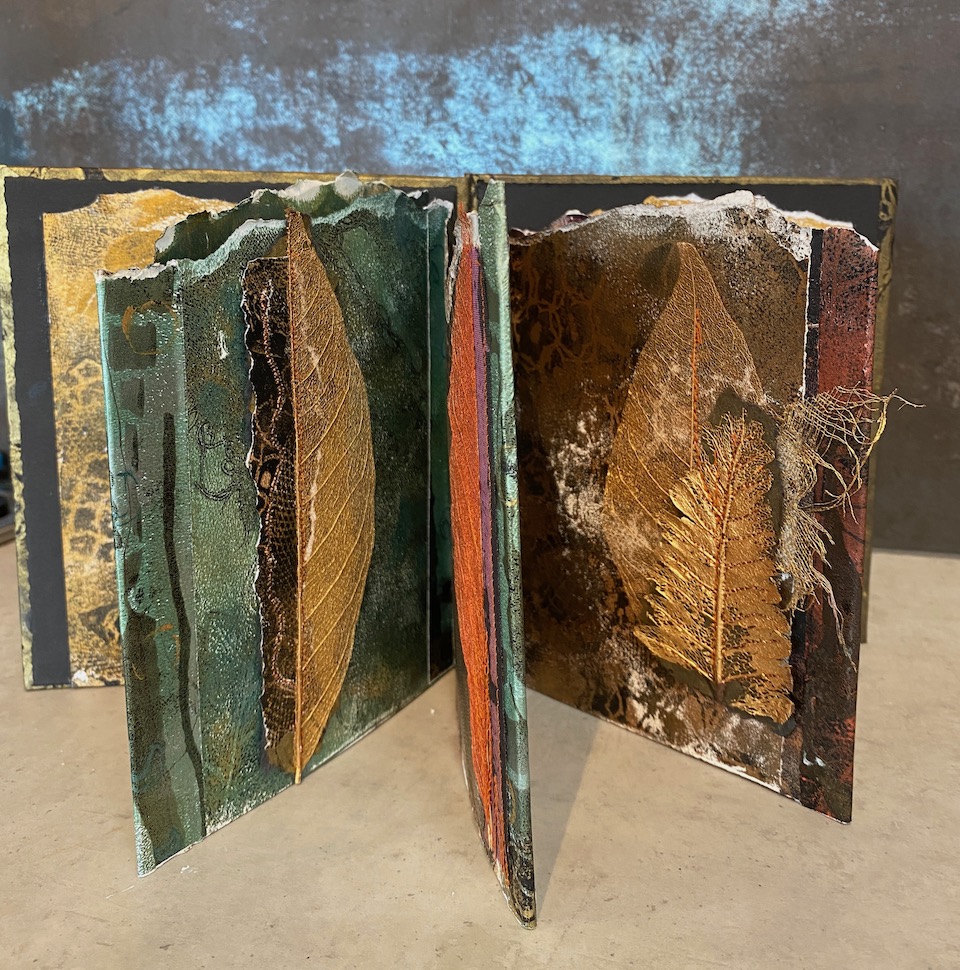
- I use them to create Artist Books
- Wall hangings, Collage, Gift cards, Gift Tags, Bookmarks, Journals, Business Cards, Collage in Paintings
Step by Step How to do a Gelli Print
- Have all your papers cut to size of the plate and ready for printing.
- Apply dabs of paint (can be multiple colours as long as it does not get too muddy) to the plate either with a palette knife or by dabbing directly from the tube. Too much will cause the plate to be too wet, too little will cause it to dry out to quickly. You will need to learn a happy medium through experimentation.
- Spread the plate out with your hard brayer evenly onto the plate.
- Make patterns and Textures– This is the part when you get to use stencils, masks, stamps and tools. Here are a few ideas you can do and some different gel plate printing techniques:
- Place a piece of twine over the painted gel plate.
- Using a comb to create different designs and lines.
- Stamp the plate with different materials – such as buttons, cabinet pulls, hardware washers and nuts.
- Press a piece of decorative lace ribbon into the gel plate.
- Use stencils and masks to create areas that won’t be covered with paint.
- Stamp an image.
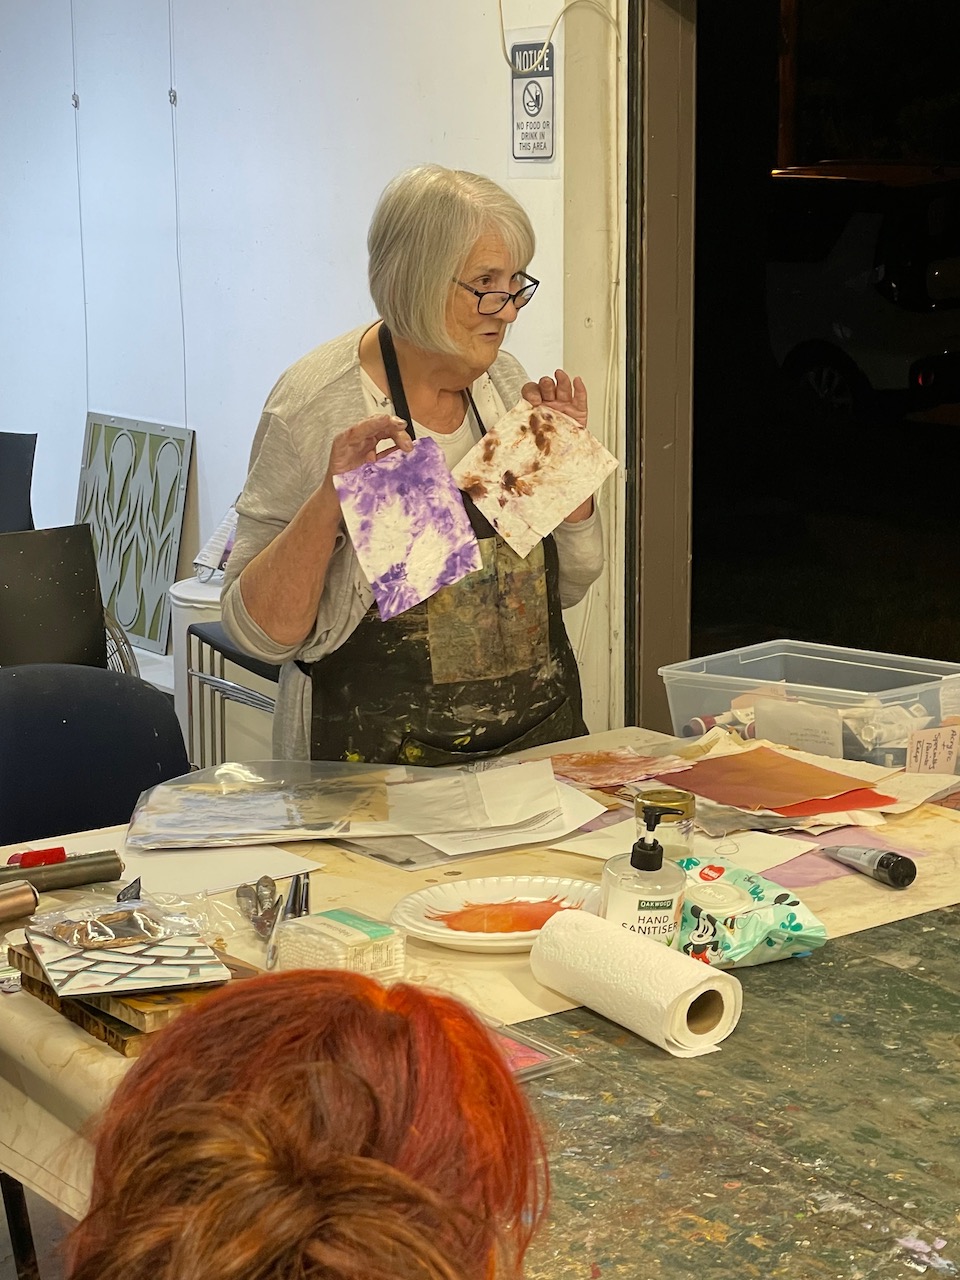
- Take prints you simply lay a piece of paper on top of the gel plate, press down with your hands to smooth it out – and then pull it off to reveal your design.
- If there is still paint on your gel plate after the first print is pulled, you can always place a second piece of paper onto the plate and repeat the press and pull process. These are called “ghost prints” and sometimes the ghost prints can be just as every bit as beautiful and interesting as the original!
Gelli Plate Art Best Results
· Gelli printing sometimes has an unpredictable aspect. When you apply the paint on the gelli plate you never really know how it will look on paper.
· First of all it’s reverse and second you build layers that you don’t know how will look together once you are finished.
· Some people are uncomfortable with this lack of control and never tried gelli printing because of that. But I love it! I think that this is part of what art is all about, use your imagination and accept whatever comes out.
Caring for your Gelli Plate
- The best way to clean your plate is with baby wipes. Keep the wipes as they will have lots of ink on them and you can reuse them to print on.
- You can also clean your plate with hand sanitiser and paper towel.
- Can also wash with soap and water.
- Store your plate in its original packaging and lay flat to store.
- Do not use sharp objects to draw into the plate as this will destroy the soft surface of the plate.
continue reading
Related Posts
-
Join Grace Cross in her studio in Bracken Ridge, Naracoopa […]
Tania Geyer is a practising contemporary artist who enjoys empowering […]